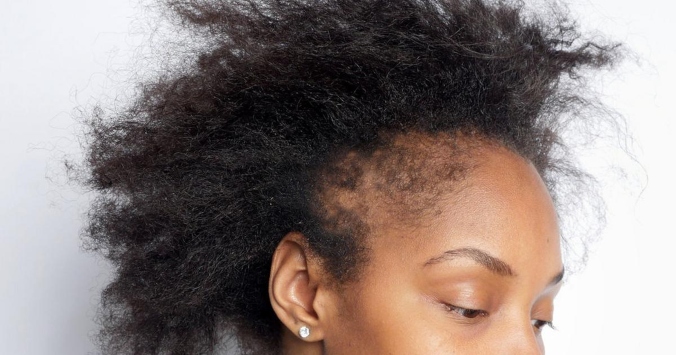
When it comes to taking care of natural hair, applying products in the right order can make the difference between dry, frizzy strands and soft, defined curls.
With so many creams, oils, leave-ins, and gels on the market, it’s easy to feel overwhelmed.
But don’t worry, we’re breaking down the proper way to layer your hair products so your curls stay moisturized, styled, and thriving.
Step 1: Start with clean, damp hair
After shampooing and conditioning, begin with damp hair to help lock in hydration. Water is the first and most essential “product” your hair needs.
Step 2: Apply leave-in conditioner
This is your moisture foundation. A leave-in conditioner helps detangle, soften, and prep the hair for styling. It also provides a layer of protection against breakage. Use a generous amount and work it through evenly, focusing on the ends.
Step 3: Add a cream or curl enhancer
Next, apply a cream to help define your curls and add softness. This step seals in the leave-in conditioner and enhances your natural texture. Rake it through section by section or use the praying hands method for even distribution.
Step 4: Seal with oil or butter
Oils like jojoba, castor, or avocado help lock in the moisture from your leave-in and cream. This step is especially helpful for high-porosity hair or during dry seasons. Apply a small amount to avoid a greasy finish.
Step 5: Style with gel or mousse (optional)
If you want extra hold or definition, finish with a gel or mousse. This helps reduce frizz and extend the life of your style. Just make sure to choose a product that doesn’t leave flakes or dry out your strands.
Pro tip: Try the LOC or LCO method
The LOC (Leave-in, Oil, Cream) and LCO (Leave-in, Cream, Oil) methods are popular routines depending on your hair’s porosity. Try both and see which your curls respond to best.
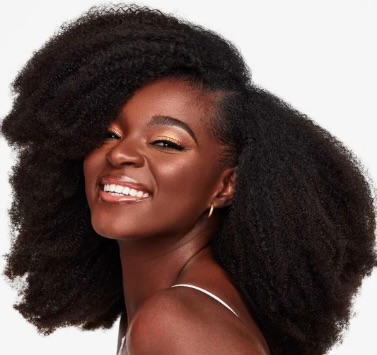
By layering your products in the right order, you’re giving your natural hair the best chance to absorb moisture, maintain definition, and shine all day long. No more guesswork, just results.